

Good outdoor deck lighting doesn’t just make your deck look great after dark, it changes how you use your entire outdoor living space. But not all deck lighting installations are created equal. Here’s how to know the difference before you invest.
How Professional Deck Lighting Installation Transforms Your Space
If you live in the Charlotte area, you already know: summer evenings here are worth staying outside for. Think about the last time you came home from Sounds of Summer at Blakeney or a show at PNC Music Pavilion and the evening just kept going on the back deck. The music stopped, but nobody was ready to call it a night. Good lighting is what makes that possible as it extends your living space into the evening and gives every gathering room to breathe.
Beyond entertaining, outdoor lighting serves some practical purposes that are easy to overlook until something goes wrong. Well-placed fixtures illuminate steps, level changes, pathways, and transitions between spaces, the spots where someone unfamiliar with your yard is most likely to have an issue. Lighting those areas well isn’t just thoughtful design, it’s considerate hosting.
And then there’s mood. The right layering of ambient glow, directional accents, and warm task lighting can make a deck feel like a destination, a room you designed with intention, not just an elevated wooden platform attached to the back of your house.
The catch? Lighting only delivers all of that when it’s installed correctly. When it’s not, you get flickering fixtures, mismatched brightness, and wiring that wasn’t built to last or to be safe. When you invest in professional deck lighting installation, it changes how you use your entire outdoor living space
Designing a Custom Low-Voltage Deck Lighting Plan by Zone
Most outdoor spaces aren’t just a deck. They’re a collection of connected spaces that serve different purposes and the best lighting plans treat them that way. A quality installation starts by mapping out those zones before a single fixture is spec’d.
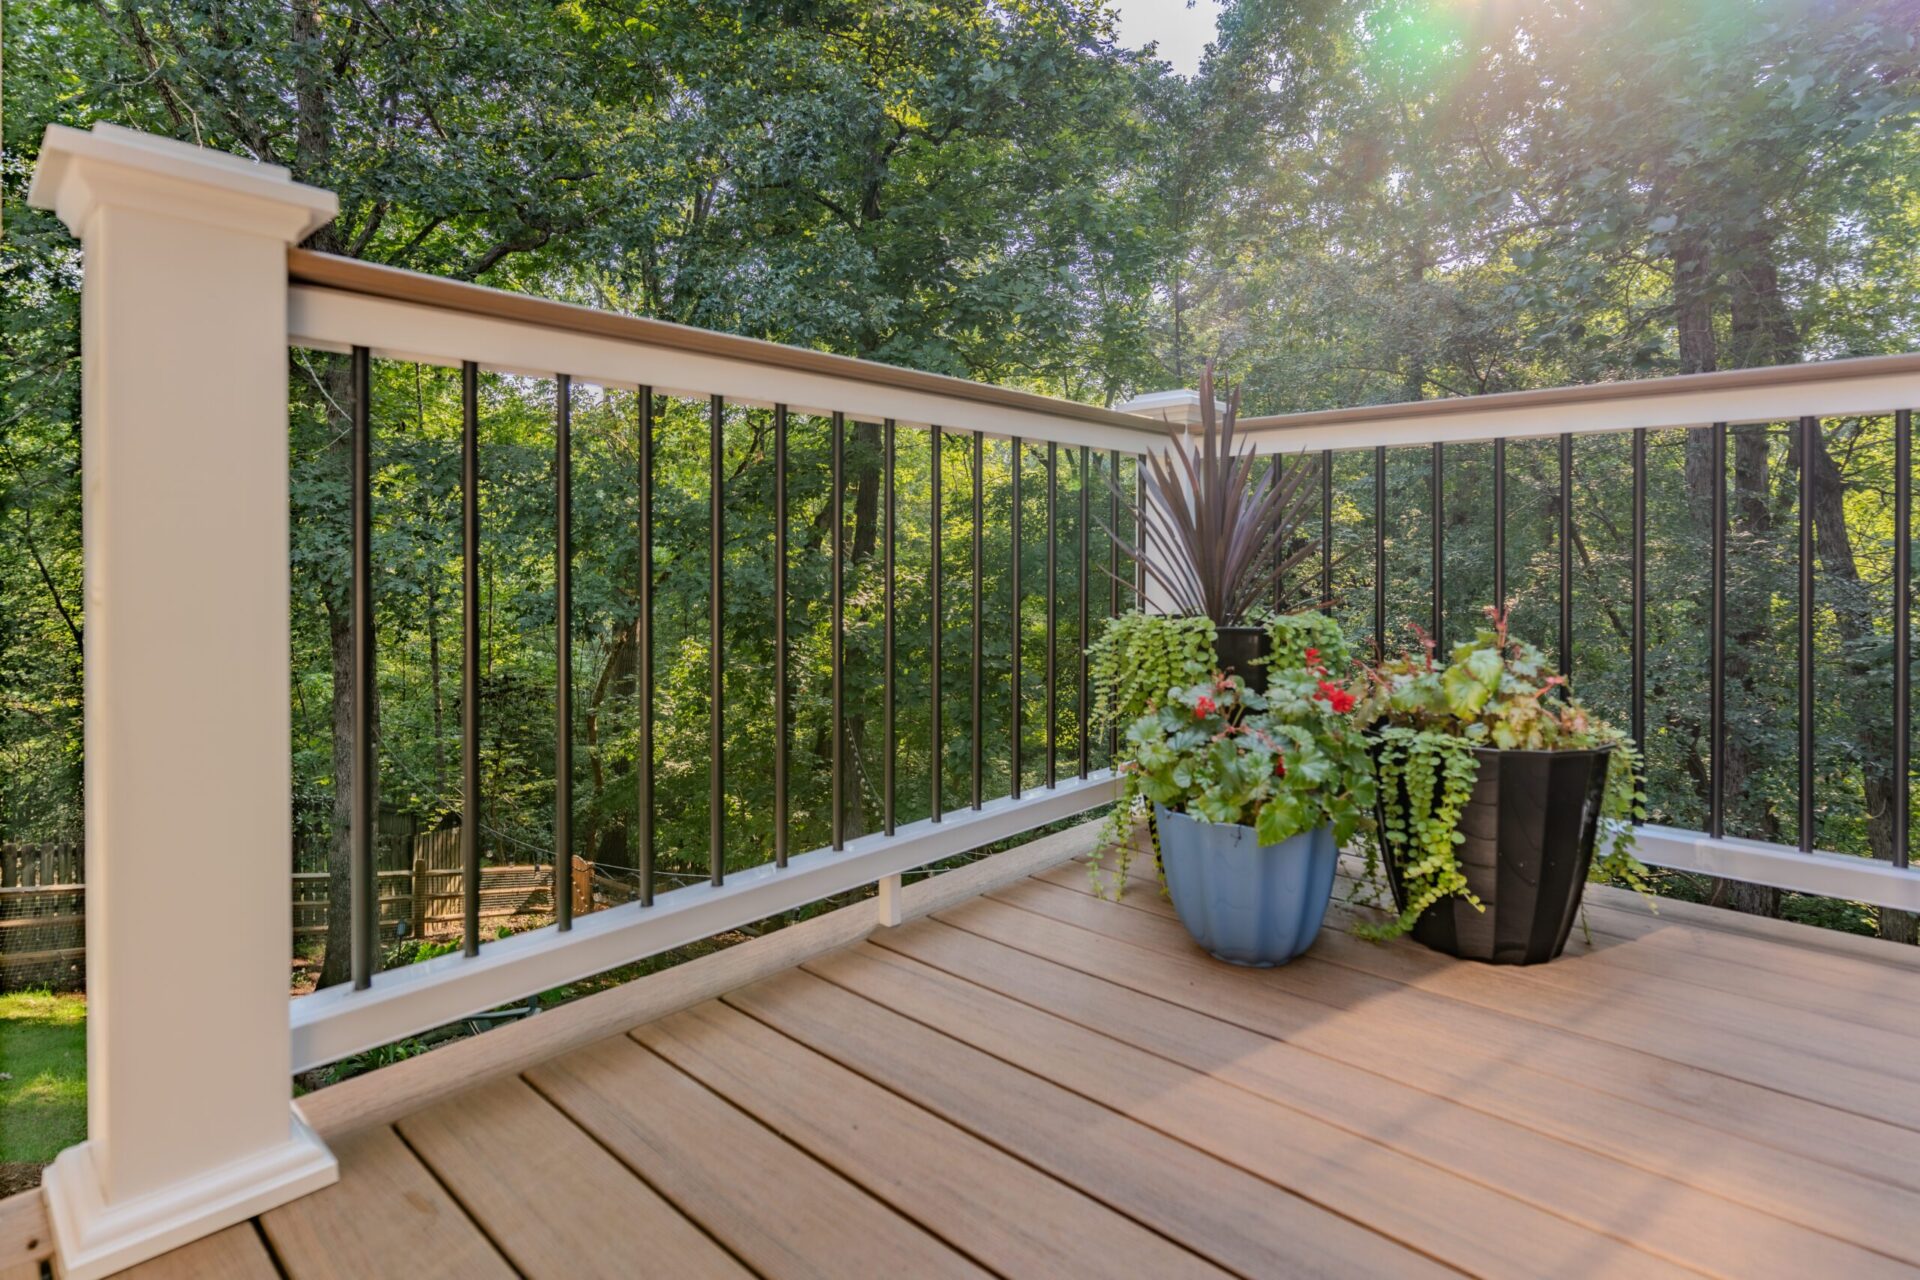
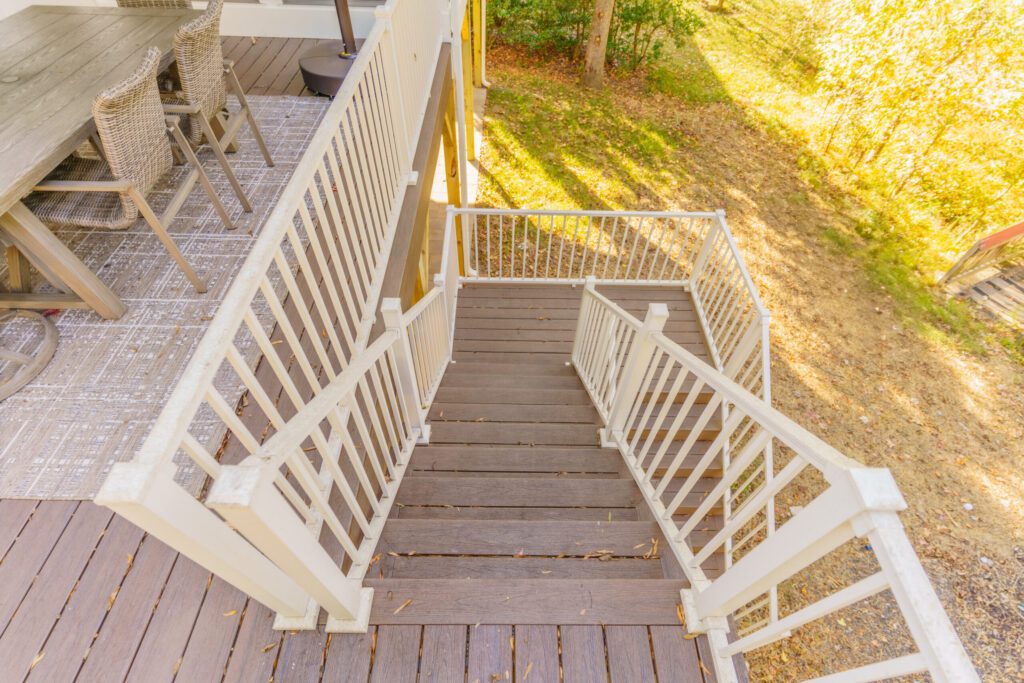
Deck + lower patio: Multi-level builds need lighting that ties the levels together. Stair risers, post caps, and under-rail strips create a connected flow rather than two separate spaces. Low-voltage systems handle this elegantly when they’re designed in from the start.
Deck + outdoor kitchen: The grill and prep area need brighter task lighting. Ambient or accent lighting for the dining zone keeps things separate but cohesive, two functions, two feels. Where line-voltage pendants or overhead fixtures make sense under a covered structure, a quality build coordinates that work with a licensed electrician before construction begins, not as a retrofit.
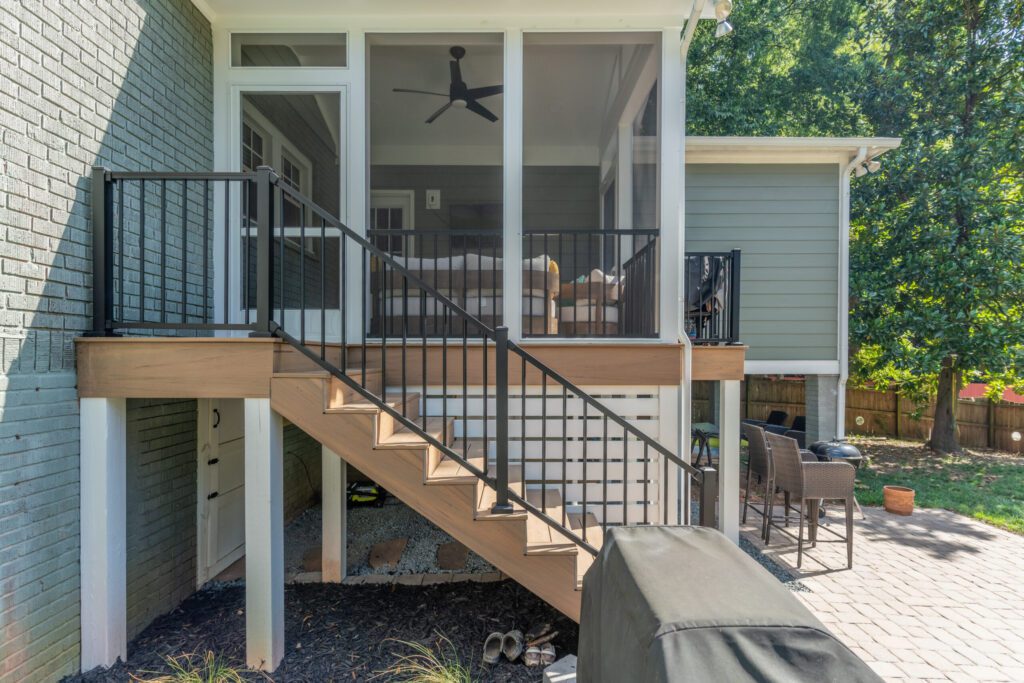
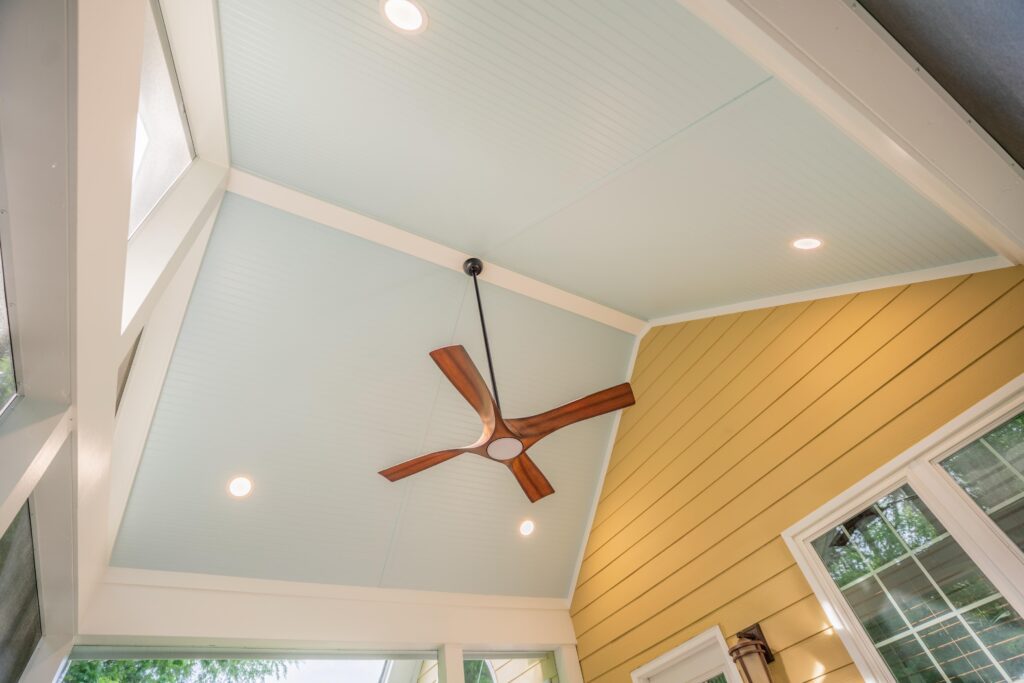
Covered porch + open air: Overhead fixtures under the roof and low-voltage accents in the open area need to balance in brightness so neither space looks washed out or too dim by comparison.
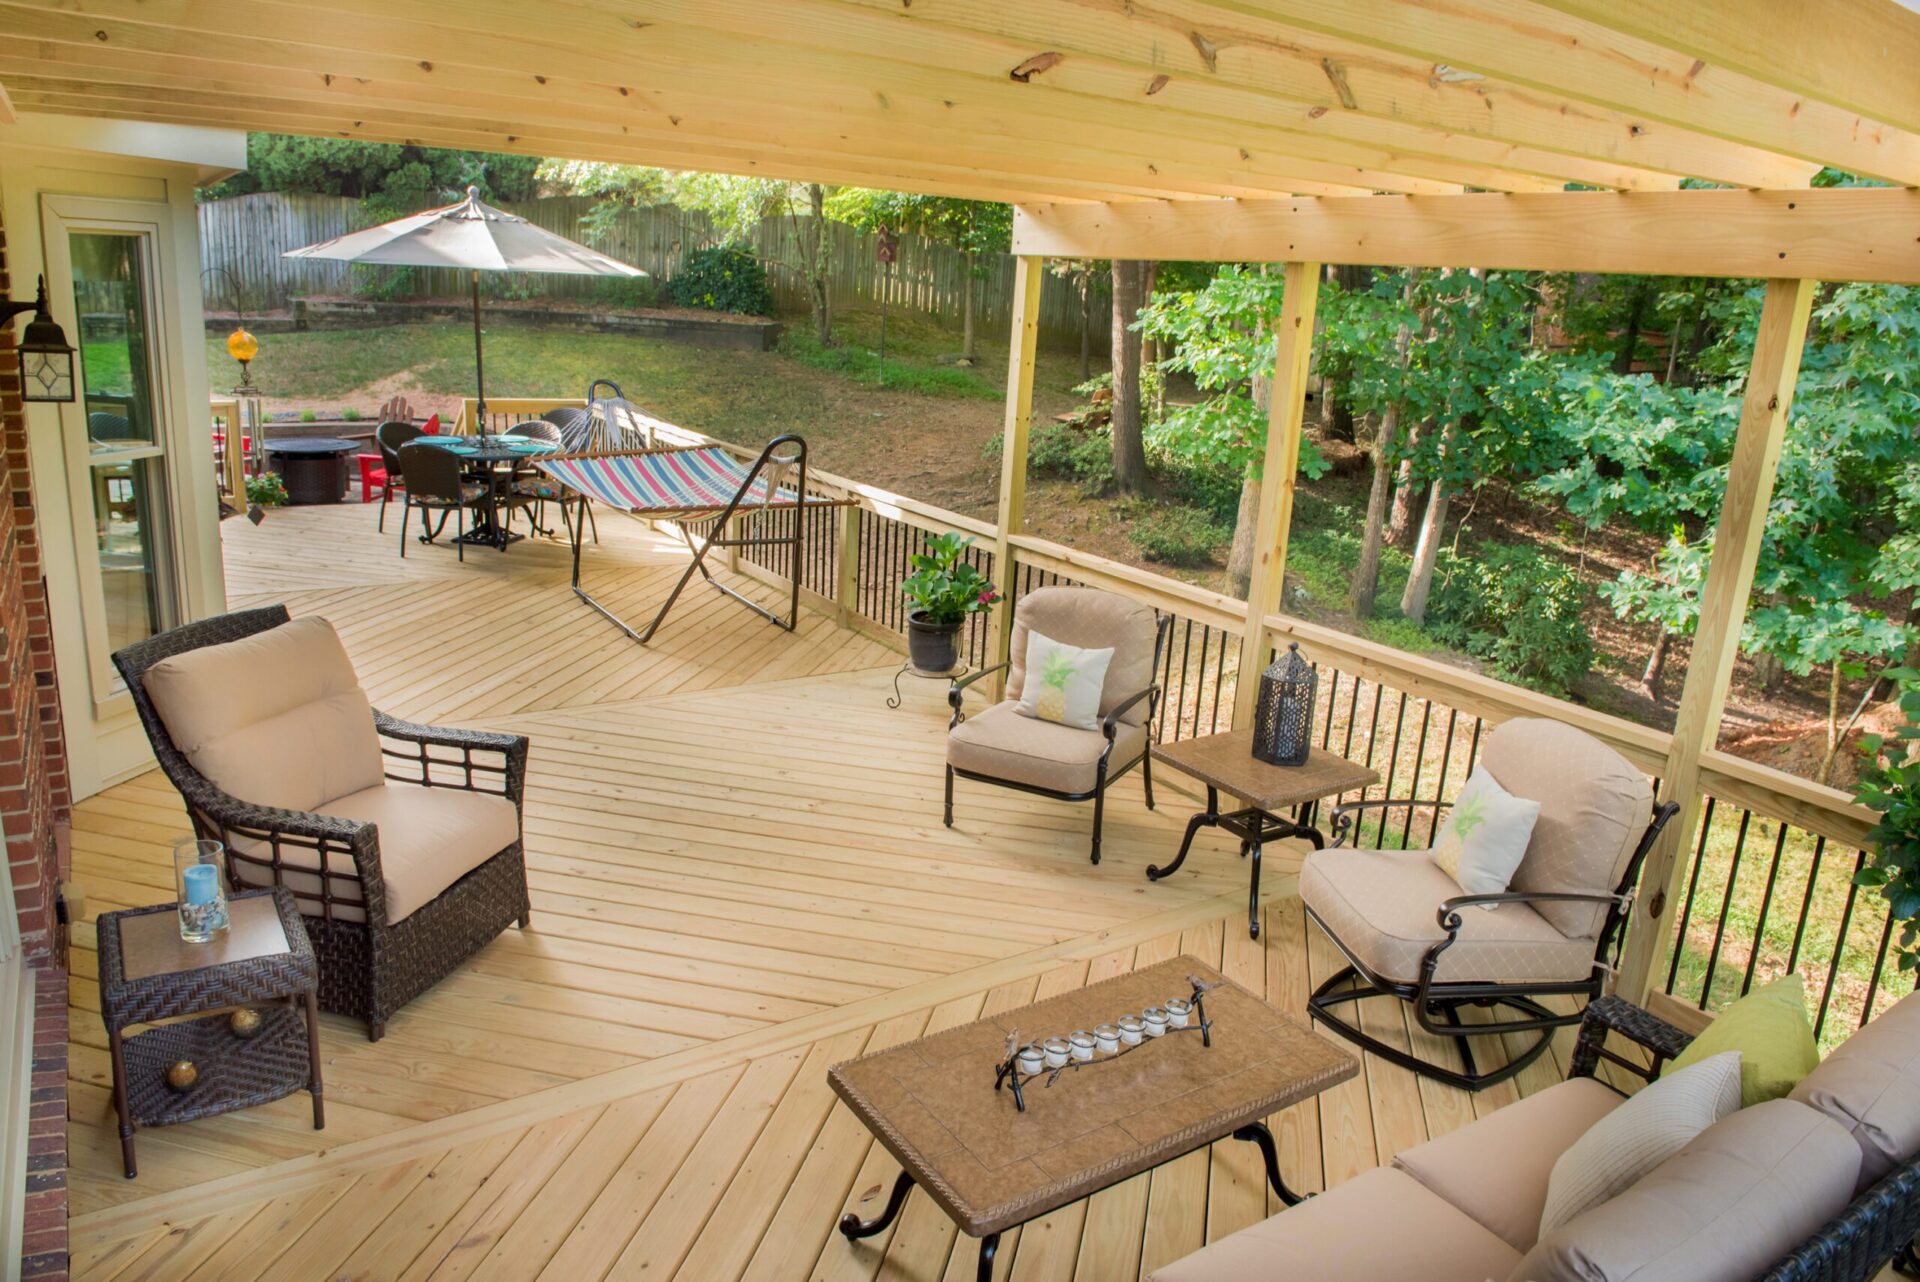
Pergolas are their own lighting conversation. Because they’re open structures, they rely entirely on what’s built into them: string lights routed through the beams, pendant drops, or integrated post-cap fixtures. A pergola without a lighting plan is a pergola you stop using at sunset.
What you want to avoid in any of these configurations: plug-in fixtures routed through surface-mounted channels, or indoor-rated components pressed into outdoor service because they were available.
Five signs the lighting was done right
Whether you’re evaluating an existing deck or making decisions about a new build, here’s what a quality installation actually looks like:
Wiring is routed cleanly through the structure. On a quality build, wiring runs inside the deck framing, through joists and posts, not along the surface with staples or zip ties. You shouldn’t be able to trace the wiring path by looking at the finished deck.
Every fixture is rated for outdoor wet locations. This is on the label as UL wet-location listed. It matters especially in the Carolinas, where humidity, heat, and afternoon storms are a regular part of the season. Using anything less is cutting corners on durability.
The transformer is properly sized with load calculations. A low-voltage system runs through a transformer, and that transformer needs to be matched to the actual load on the circuit. Too small and you’ll have flickering; too large and you’re overpaying for a piece of hardware you don’t need. A quality installation documents this.
Fixtures were integrated during the build, not added afterward. Seamless deck post cap lights, flush-mounted stair riser lights, and in-deck low-voltage LED step lights need to be considered before framing is complete. When lighting is part of the design from day one, the integration is seamless. When it’s retrofitted, you’ll see it in surface patches, visible mounting hardware, and caulk fills that were never quite the right color.
Light levels are consistent and balanced. Flip the lights on at dusk and walk the space. There shouldn’t be bright spots near the transformer and dim zones at the far ends of the run. No flickering. No fixtures that are clearly brighter or dimmer than their neighbors. Balanced, even light from every fixture is the result of proper circuit planning.
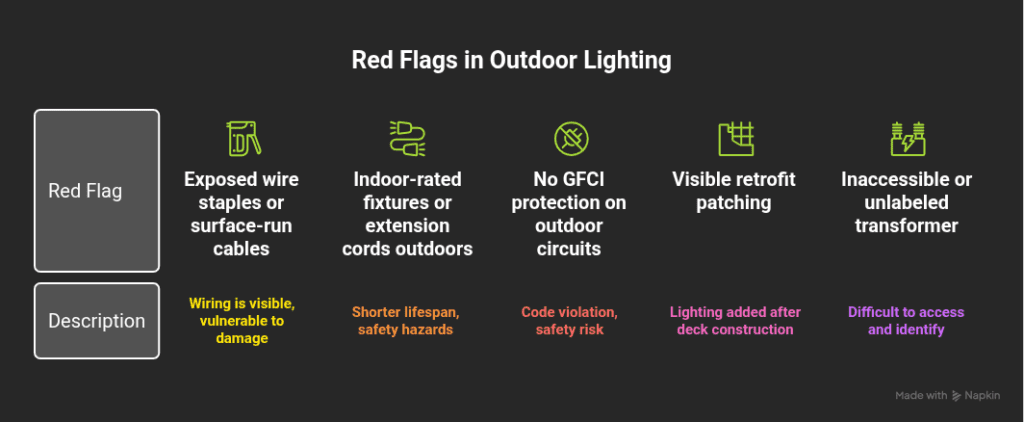
Five red flags that signal a shortcut
We aren’t out to scare you as most deck lighting issues aren’t emergencies. But they are signals that corners were cut, and they tend to compound over time. As trusted outdoor lighting contractors in Charlotte, NC, we see the difference daily.
Here’s what to watch for:
Exposed wire staples or surface-run cables. If you can see where the wiring goes, that’s a flag. Staples and surface channels are quick and they’re also vulnerable to foot traffic, UV exposure, and the kind of moisture that accelerates corrosion.
Indoor-rated fixtures or extension cords in outdoor applications. Indoor fixtures have a shorter service life outdoors and can create safety hazards. Extension cords were never designed to be permanent wiring. Both are common shortcuts that look fine at first and cause problems within a season or two.
No GFCI protection on outdoor circuits. Ground fault circuit interrupter protection is code-required for outdoor electrical and for good reason. If your outdoor outlets or fixtures aren’t on a GFCI-protected circuit, that’s a conversation to have with a licensed electrician.
Visible retrofit patching. Caulk fills in post caps that don’t quite match, mounting plates sitting proud of the surface, or misaligned fixture cutouts are all signs that lighting was figured out after the deck was built. It doesn’t necessarily mean the lighting won’t work, but means it wasn’t intentionally designed.
A transformer in an inaccessible or unlabeled location. You should know where your transformer is, what circuit it’s on, and be able to get to it. If it’s tucked behind lattice with no labeled breaker and no documentation, that’s a setup for frustration the first time something needs attention. Deck lights flickering or dimming? Usually means a transformer wasn’t properly sized with load calculations.
What a custom lighting plan actually looks like from the start
When lighting is part of the conversation from day one, the result is different in ways that are immediately visible and in ways that quietly pay off over years of use.
A design-first approach means layering three types of light across your outdoor space: ambient light that sets the overall tone and brightness, task lighting in functional zones like cooking and prep areas, and accent lighting that highlights the details like rail profiles, architectural posts, stair edges, and transitions between materials.
It also means selecting fixtures that work with the rest of the design, not against it. Bronze hardware on a dark-stained IPE deck reads differently than brushed nickel on a painted composite rail. Fixture quality matters too and aluminum and brass housings hold up in Carolina heat and humidity far better than plastic (and they’ll look better doing it).
If you’re already thinking about home automation, it’s worth knowing that most quality low-voltage systems today are compatible with smart home controls, meaning your deck, pergola, and landscape lighting can all run on a single app or integrate with what you already have indoors.
One thing we always talk through with homeowners: your deck lighting and your landscape lighting should feel like one system, not two separate afterthoughts. Path lights along the walkway, lighting along the driveway edge, garden bed accents, when those tie into the same design as your deck, the whole property reads as intentional after dark.
When we sit down to design a deck, lighting is always part of that first conversation, not a line item we revisit at the end. The decisions made during framing determine what’s possible with lighting later. That’s why we ask about how you use your space in the evening, not just during the day.
A quick note on permits and electrical work
In Charlotte and across the surrounding counties, electrical work on structures requires permits and outdoor deck lighting, especially anything involving line-voltage circuits, is no exception. A quality builder coordinates with a licensed electrician, pulls the appropriate permits, and passes inspection. That documentation protects your investment and matters when it comes time to sell.
If you’re reviewing a proposal and electrical work is mentioned without any reference to permitting, it’s worth asking the question directly. The answer tells you a lot about how the rest of the project will be managed.
Ready to start the conversation?
Good outdoor lighting happens by design. If you’re beginning to think about your outdoor living space in the Charlotte metro, we’d love to be part of that conversation early. The earlier lighting is in the plan, the better the result.
Book a free estimate or call us at (980) 414-0320
Looking for inspiration or pricing information? Check out our Project Gallery or read our previous blog post!